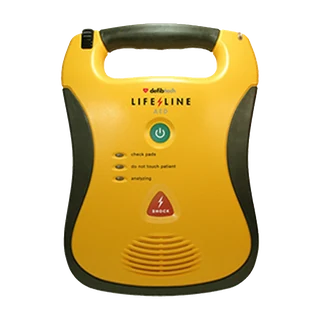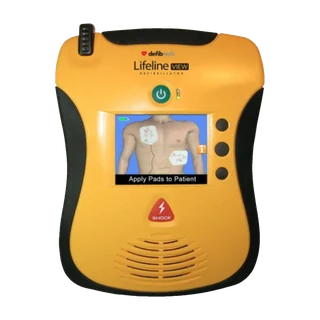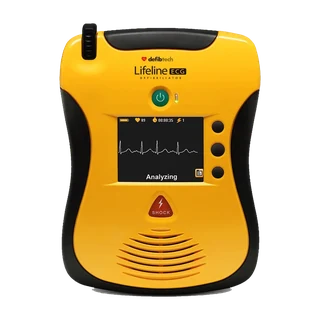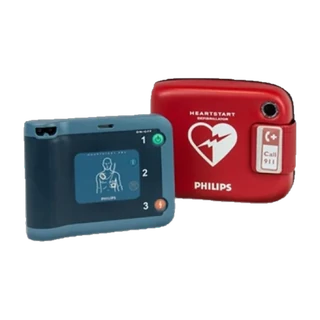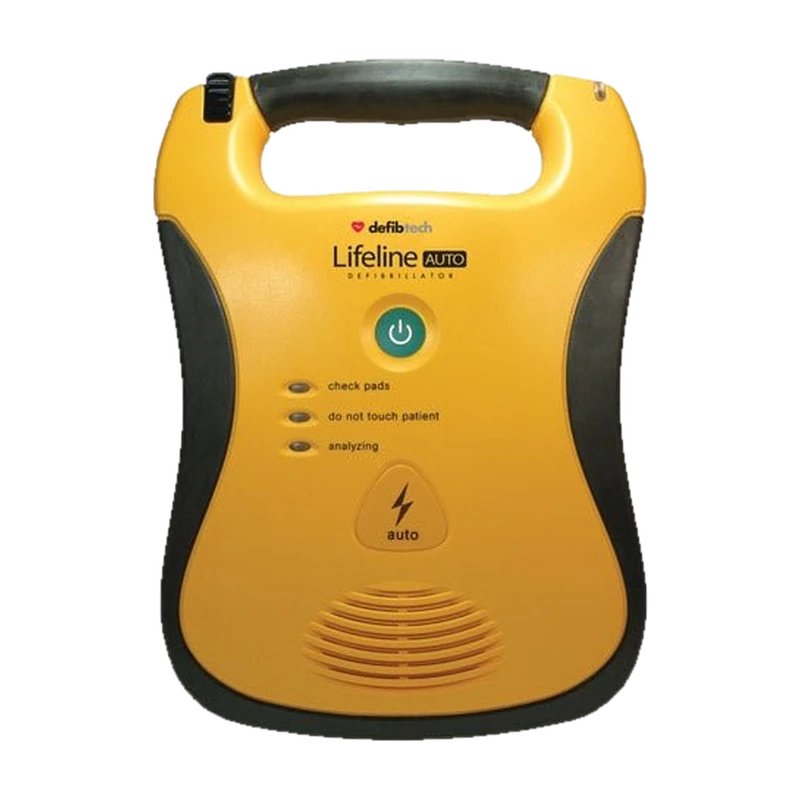
Is this your AED?
Yellow with grey sides and no screen. It has no Shock button: an “auto” symbol instead, because it shocks automatically. The model name is printed on the front of the unit and on the label at the back.
1. Is it ready? Check the readiness light
Every AED tests itself and shows the result on a readiness indicator. On the Lifeline AUTO it is the small light at the top-right corner, by the handle.
- Ready: It flashes green about every 5 seconds. Watch for 10 seconds to see two flashes.
- Not ready: Red, or no green flash in 10 seconds, means it needs attention.
See what the light means on other models in our status light guide.
2. Find the serial number
Slide the pads package out of its holder on the back (leave it plugged in). The 9-digit serial label is behind it. Slide the pads back afterwards.
How old is your Lifeline AUTO?
Defibtech serial numbers don’t contain a date, so look for a date of manufacture on the label instead.
Age matters: many AED owners plan to replace a unit at around ten years, and an older unit may no longer be supported by its maker. More in how old is my AED.
3. Check the pads expiry date
Slide the pads package out of its holder on the back (leave it plugged in). The date is beside the ⌛ on the white label on its back. Slide it back afterwards.
Replace the pads if the date has passed, after any use (they are single-use), or if the package is open or damaged. Expired pads can dry out and may not stick or conduct properly. More in AED pads expiry.
4. Check the battery date
Press the orange eject button on the side and pull the battery out. The date is beside the ⌛ on its label. Slide it back in until it clicks.
More in AED battery expiry.
5. Make sure the battery is fitted
On the side, the battery should be pushed fully in and flush, beside the orange eject button.
6. Make sure the pads are connected
The pads connector plugs into a socket at the top-left corner, by the handle.
Child pads or key
Child/infant pads have a blue connector. Keep a spare pack if children could be present.
The cabinet, rescue kit and emergency sign
- Cabinet or case: easy to reach, not locked or blocked, and the alarm working if it has one.
- Rescue kit: gloves, a razor, scissors and a CPR face mask, sealed and with the AED.
- Emergency contacts sticker: on the AED or its cabinet, with your local emergency number.
If something fails
Many faults take seconds to fix: push the battery fully home, plug the pads back in, close the lid, then check the readiness light again. An expired battery or pads can’t be fixed on the spot and need replacing. The free inspection’s report lists exactly what failed, and you can ask for a quote for the right pads or battery for your Lifeline AUTO from the result screen.